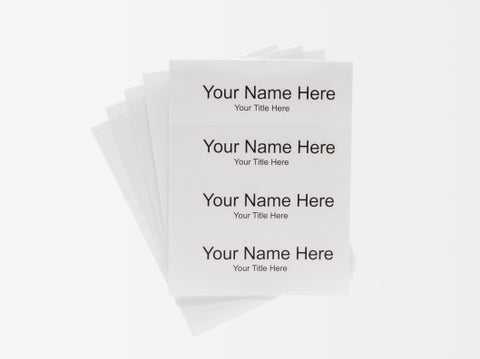
How to Create Your Own Nameplate Inserts Using Perforated Card-stock
Plastic Products Mfg has unveiled several attractive additions to our Name Plate Holder line in recent months, like Multi-slot Desk Nameplate Holders with dynamic silver or black borders, or our Executive Series Wall Mount Acrylic Nameplate Holders with premium 1/8″ acrylic. Naturally, many inquisitive customers have also been asking if we offer the templates for the inserts themselves. While creating nameplate inserts is more of a printing specialty, we do have some “how-to” advice to help you make your own in Microsoft Word.

White Perforated Paper
It’s really a simple “DIY” process. Once you have Word open, here’s what to do:
Step 1: Click Mailings and then the Labels button in the ribbon.
Step 2: Click Options. If you use pre-printed labels from a Label vendor, this is where you can select the appropriate pre-formatted template by clicking the label vendor and the product number, then personalize it accordingly and click OK.
Step 3: Click New Document and a new, formatted document will appear with rectangles where names can be added (even if you don’t have a label “default” like in Step 2).
Step 4: This is where you can use different formatting options to give your nameplate inserts a unique look. Select all the labels/inserts you’ve included in your document, then click Table Tools under Layout. In the Alignment section, click “Align Center.” This will align your nameplate both horizontally and vertically.
Step 5: Choose your font and print size. This is accomplished under the Home menu just as you would in a Word writing format. Same principle, same procedure.
Step 6: Save and print! Your nameplate inserts are ready.
Here’s another way to create your nameplate template. Under Insert on a Word doc, go to Text Box and choose any of the available selections. Simply type your name/title and adjust your font/size as desired. You can even add Clip Art under Insert if you want to enhance your nameplate beyond text. Use the ruler at the top to control the horizontal print area, and your template is set.
Of course, if you are using an older version of Windows, your Word functions and capabilities may vary from those described in either method above. But if you use Office 365, Windows 10, or any version more recent than Windows 7, you should be ready to make your DIY nameplate templates.
Then, the only major decision left is the type of paper stock or insert the material you want to use for the finished result. Plastic Products Mfg. offers perforated card-stock in a variety of sizes and colors. You can use a laser or inkjet printer for your custom inserts and the perforated sheets make it easy to separate the inserts cleanly.
Hopefully, these tips will help you make the perfect template for nameplate inserts with little time or fuss invested. And when you need the right showcase to show those names in the best light possible, think about new Name Plate Holders at Plastic Products Mfg.!


